7 Restorative Yoga Poses You Can Do With a Bolster
Finding moments of true rest and restoration has become more important than ever. Restorative yoga offers a gentle yet powerful way to activate your body's natural relaxation response, reduce stress, and promote deep healing. And when it comes to restorative practice, few props are as transformative as a yoga bolster.
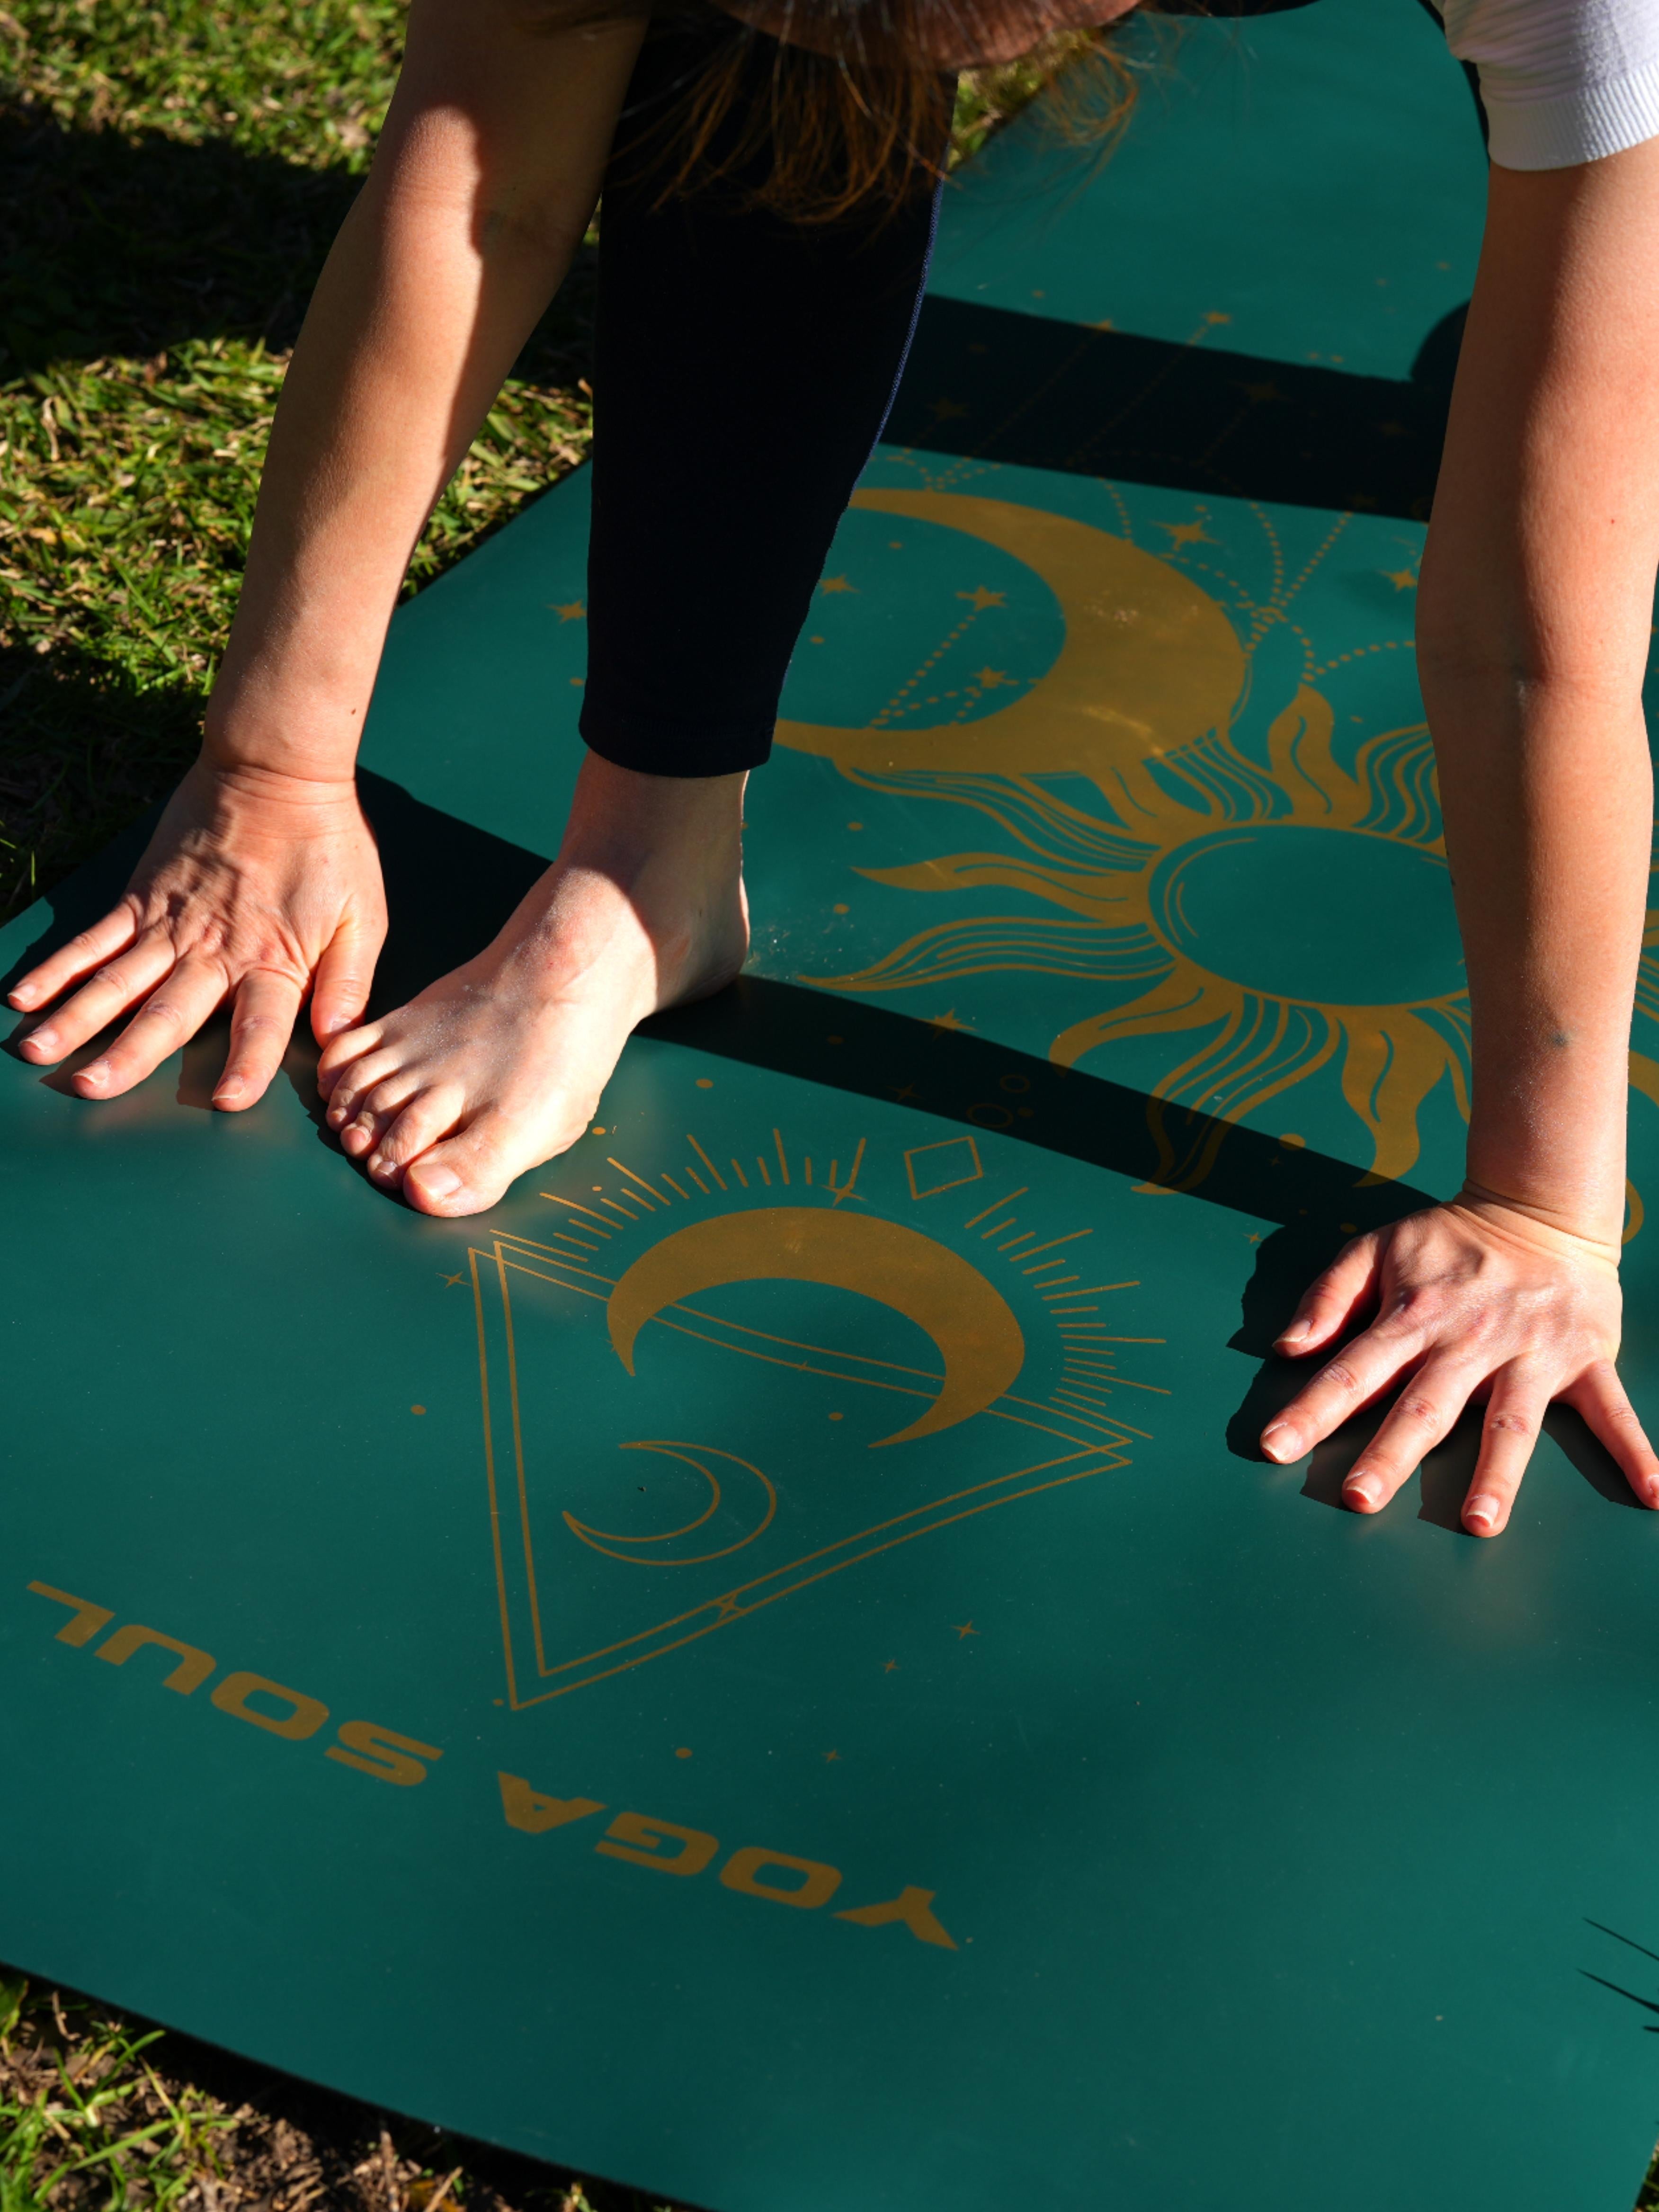
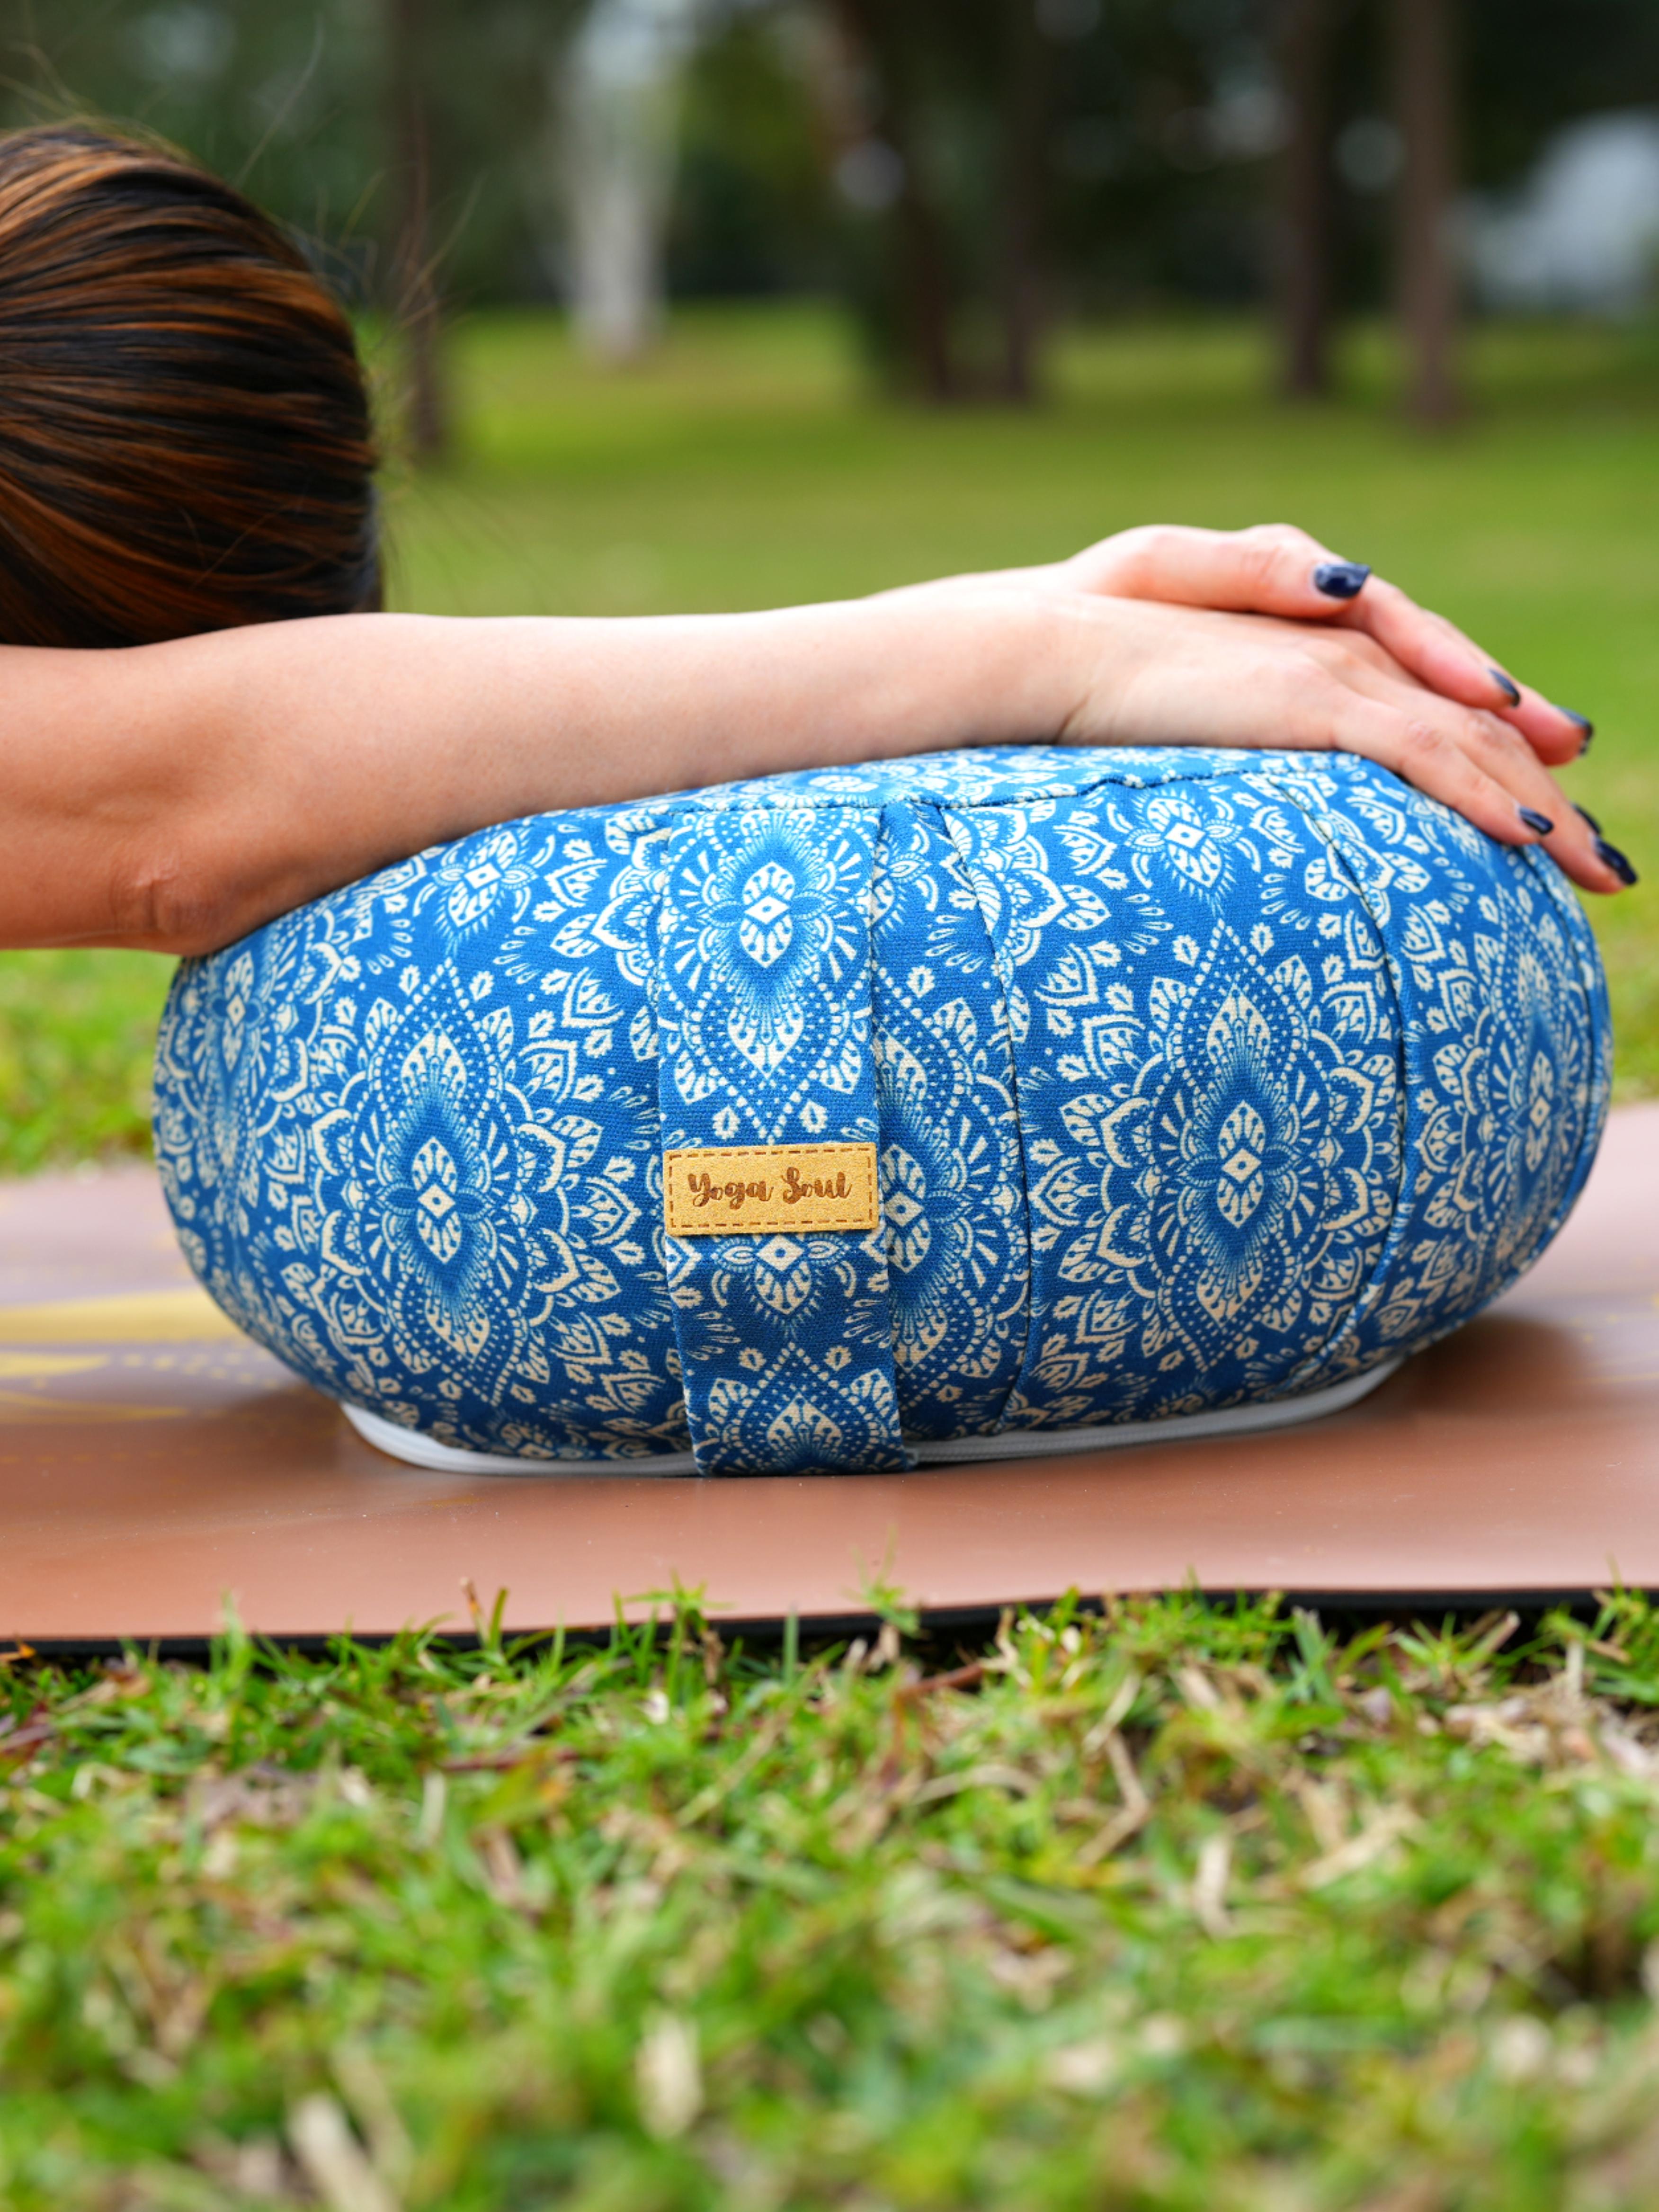
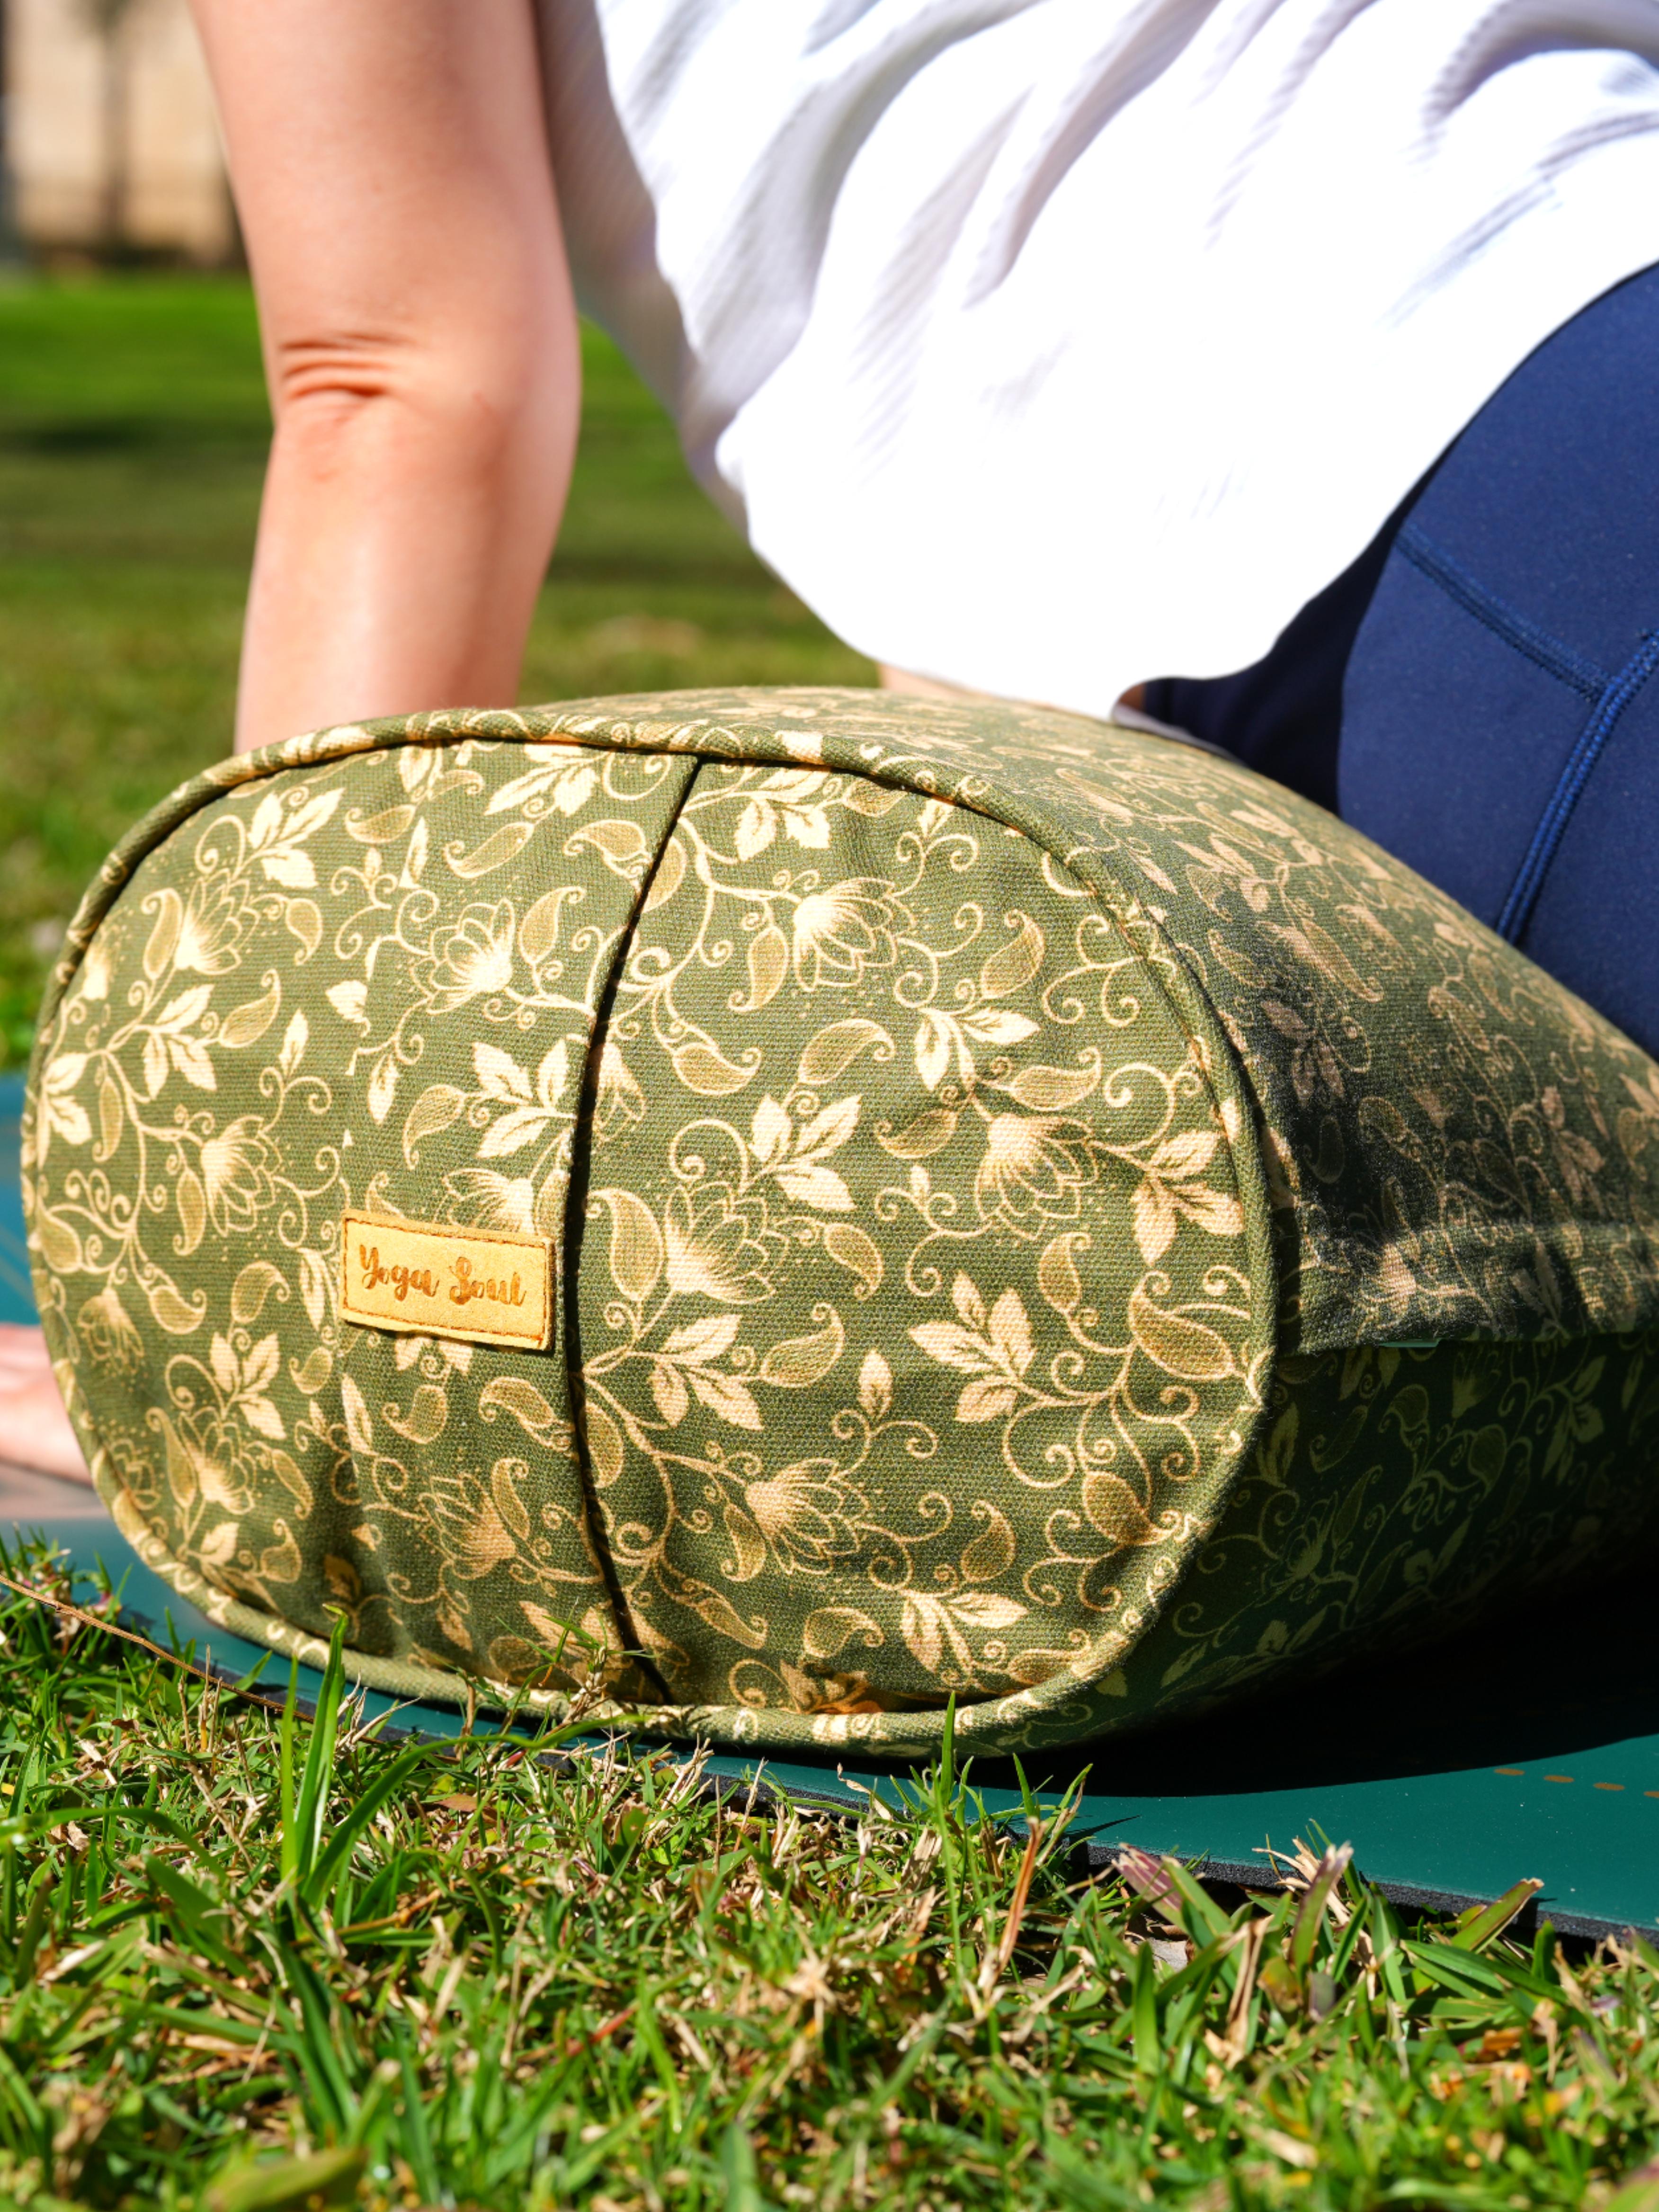
A yoga bolster is a firm, supportive cushion specifically designed to hold your body in comfortable, passive positions for extended periods. Unlike active yoga poses that require effort and engagement, restorative poses with a bolster allow you to completely surrender and let gravity do the work.
In this guide, we'll explore seven essential restorative yoga poses using a bolster, each designed to target different areas of tension and promote specific types of healing. Whether you're dealing with stress, physical tension, or simply need to slow down, these poses will help you find the deep rest your body craves.
What Makes Restorative Yoga Special?
Restorative yoga is fundamentally different from other yoga styles. Instead of building strength or flexibility, it focuses on:
- Activating the parasympathetic nervous system – your body's "rest and digest" mode
- Reducing cortisol levels – helping to manage stress hormones
- Promoting deep relaxation – both physically and mentally
- Supporting natural healing processes – giving your body space to repair
- Improving sleep quality – through nervous system regulation
The magic happens when you hold poses for 5-20 minutes, allowing your body to completely release tension and your mind to enter a meditative state.
How to Use This Guide
Each pose includes:
- Setup instructions with detailed bolster placement
- Modifications for different body types and needs
- Benefits specific to that pose
- Hold duration recommendations
- Safety considerations and contraindications
Before you begin:
- Choose a quiet, comfortable space
- Have your bolster and any additional props ready
- Set a gentle timer for each pose
- Focus on deep, natural breathing throughout
Essential Props for These Poses
While a bolster is the star, these additional props can enhance your experience:
- Extra blankets for warmth and weight
- Eye pillow to deepen relaxation
- Yoga blocks for height adjustments
- Additional cushions for extra support
- Strap for gentle binding in some poses
Pose 1: Supported Child's Pose (Balasana)
This nurturing pose provides a sense of safety and introspection while gently stretching the hips and back.
Setup:
- Place your bolster lengthwise on your mat
- Kneel in front of the bolster with knees slightly wider than hip-width
- Fold forward, bringing your torso to rest on the bolster
- Turn your head to one side, switching halfway through the hold
- Let your arms rest alongside the bolster or underneath it
Modifications:
- For tight hips: Place a folded blanket or cushion between your calves and thighs
- For knee sensitivity: Add extra padding under your shins
- For neck comfort: Use a small pillow under your forehead
Benefits:
- Calms the nervous system and reduces anxiety
- Gently stretches hips, thighs, and ankles
- Relieves stress and fatigue
- Promotes introspection and emotional release
Hold for: 5-10 minutes
Contraindications:
Avoid if you have serious knee injuries or are pregnant (modify with wider knees and avoid pressure on belly).
Pose 2: Supported Heart Opener (Anahatasana Variation)
This gentle backbend opens the chest and shoulders while supporting the spine, perfect for counteracting forward-hunched postures.
Setup:
- Place the bolster lengthwise on your mat
- Sit with your back to the bolster, about 6 inches away
- Slowly lower your back onto the bolster, positioning it under your shoulder blades
- Let your arms fall open to the sides, palms facing up
- Allow your head to rest back, ensuring your neck feels comfortable
Modifications:
- For neck strain: Place a folded blanket or small pillow under your head
- For lower back discomfort: Bend your knees and place feet flat on the floor
- For shoulder tension: Place blocks or cushions under your arms for support
Benefits:
- Opens the chest and improves posture
- Relieves tension in shoulders and upper back
- Enhances breathing capacity
- Energizes while remaining restorative
- Counteracts effects of prolonged sitting
Hold for: 5-15 minutes
Contraindications:
Avoid if you have recent back surgery or acute back pain. Those with neck issues should ensure proper head support.
Pose 3: Supported Side-Lying Pose (Parsva Balasana)
This nurturing pose promotes digestive health and provides relief for the spine while creating a sense of security.
Setup:
- Place the bolster lengthwise on your mat
- Lie on your side with the bolster against your front body
- Wrap your top arm over the bolster and hug it close
- Bend your top knee and rest it on the bolster
- Adjust the bolster height to support both your arm and leg comfortably
Modifications:
- For neck support: Place a small pillow or folded blanket under your head
- For hip comfort: Add a cushion between your knees
- For pregnancy: This is an excellent position with the bolster supporting your belly
Benefits:
- Aids digestion and relieves bloating
- Reduces anxiety and promotes feelings of safety
- Relieves pressure on the spine
- Excellent for pregnancy comfort
- Helps with insomnia and restlessness
Hold for: 8-12 minutes on each side
Contraindications:
Generally safe for everyone. Pregnant women should lie on their left side when possible.
Pose 4: Supported Legs-Up-the-Wall Variation (Viparita Karani)
This inversion variation promotes circulation and deeply relaxes the nervous system while being accessible to almost everyone.
Setup:
- Place the bolster perpendicular to a wall
- Lie on your back with the bolster under your lower back and hips
- Extend your legs up the wall, creating an L-shape with your body
- Rest your arms by your sides, palms facing up
- Adjust the bolster position until your lower back feels completely supported
Modifications:
- Without a wall: Bend knees and rest feet on a chair or couch
- For tight hamstrings: Move the bolster further from the wall
- For extra comfort: Place an eye pillow over your eyes and a blanket over your body
Benefits:
- Improves circulation and reduces leg swelling
- Calms the nervous system
- Relieves lower back tension
- Helps with anxiety and insomnia
- Energizes while remaining deeply relaxing
Hold for: 10-20 minutes
Contraindications:
Avoid during heavy menstruation, with serious heart conditions, or if you have glaucoma or other eye pressure issues.
Pose 5: Supported Forward Fold (Janu Sirsasana)
This seated forward fold with bolster support allows you to experience the benefits of forward folding without strain.
Setup:
- Sit on your mat with one leg extended straight
- Bend your other knee, placing the sole of that foot against your inner thigh
- Place the bolster lengthwise over your extended leg
- Fold forward slowly, resting your torso on the bolster
- Turn your head to one side, switching halfway through
Modifications:
- For tight hamstrings: Sit on a blanket or cushion to elevate your hips
- For knee comfort: Place a cushion under the bent knee for support
- If you can't reach the bolster: Add pillows on top until you can rest comfortably
Benefits:
- Gently stretches the spine and hamstrings
- Calms the mind and reduces stress
- Improves digestion
- Relieves anxiety and mild depression
- Promotes introspection
Hold for: 5-8 minutes on each side
Contraindications:
Avoid if you have serious back injuries or herniated discs. Those with high blood pressure should keep their head higher than their heart.
Pose 6: Supported Fish Pose (Matsyasana)
This gentle backbend opens the heart and throat while providing complete support for deep relaxation.
Setup:
- Place the bolster horizontally across your mat
- Sit in front of the bolster with your back to it
- Slowly lower down, positioning the bolster under your shoulder blades
- Let your head rest back naturally (add support if needed)
- Extend your legs straight or bend knees with feet flat on the floor
- Rest your arms by your sides, palms facing up
Modifications:
- For neck comfort: Place a folded blanket or small pillow under your head
- For lower back sensitivity: Bend your knees and keep feet on the floor
- For deeper heart opening: Use a firmer bolster or add a block underneath it
Benefits:
- Opens the chest and improves breathing
- Stretches the throat and front of the neck
- Relieves tension from rounded shoulders
- Energizes while remaining passive
- Can help relieve symptoms of asthma and respiratory issues
Hold for: 5-12 minutes
Contraindications:
Avoid if you have serious neck injuries or recent neck surgery. Those with lower back issues should keep knees bent.
Pose 7: Supported Savasana (Corpse Pose)
The ultimate relaxation pose, enhanced with bolster support for complete surrender and deep rest.
Setup:
- Lie on your back with the bolster under your knees
- Allow your legs to fall open naturally, toes pointing outward
- Rest your arms by your sides, palms facing up
- Close your eyes and focus on natural breathing
- Let your entire body become heavy and relaxed
Modifications:
- For lower back comfort: Adjust bolster height or add a second bolster
- For complete relaxation: Add an eye pillow and cover with a blanket
- For warmth: Place a bolster along your side for extra coziness
- For anxiety: Try placing a weighted blanket over your torso
Benefits:
- Completely relaxes the nervous system
- Relieves lower back tension
- Promotes deep rest and recovery
- Helps with insomnia and stress
- Integrates the benefits of your entire practice
Hold for: 10-20 minutes
Contraindications:
Generally safe for everyone. Pregnant women after 20 weeks should avoid lying flat on their back for extended periods.
Quick Reference: 7 Restorative Poses with Bolster
| Pose | Hold Time | Primary Benefits | Difficulty | Props Needed |
|---|---|---|---|---|
| Supported Child's Pose | 5-10 min | Calms nervous system, hip release | Beginner | Bolster, optional blanket |
| Supported Heart Opener | 5-15 min | Opens chest, improves posture | Beginner | Bolster, optional head support |
| Supported Side-Lying | 8-12 min each side | Digestive health, anxiety relief | Beginner | Bolster, optional pillow |
| Supported Legs-Up-Wall | 10-20 min | Circulation, nervous system calm | Beginner | Bolster, wall |
| Supported Forward Fold | 5-8 min each side | Spinal stretch, stress relief | Intermediate | Bolster, optional elevation |
| Supported Fish Pose | 5-12 min | Heart opening, breathing enhancement | Intermediate | Bolster, optional head support |
| Supported Savasana | 10-20 min | Complete relaxation, integration | Beginner | Bolster under knees |
Practice Sequences for Different Needs
| Session Type | Duration | Recommended Poses | Best Time | Primary Benefits |
|---|---|---|---|---|
| Quick Reset | 20-30 min | Child's Pose (5) + Heart Opener (10) + Savasana (10) | Anytime | Stress relief, energy reset |
| Evening Wind-Down | 30-40 min | Forward Fold (8 each side) + Side-Lying (8 each side) + Savasana (15) | 1-2 hrs before bed | Sleep preparation |
| Full Restoration | 60-75 min | All 7 poses in sequence | Weekends | Deep healing, complete reset |
| Digestive Support | 25-35 min | Side-Lying (10 each side) + Forward Fold (5 each side) + Savasana (10) | After meals | Digestive health |
Bolster Selection Guide for Restorative Yoga
| Feature | Rectangular Bolster | Round Bolster | Best Choice For |
|---|---|---|---|
| Stability | Excellent | Good | Most restorative poses |
| Heart Openers | Very Good | Excellent | Supported fish pose |
| Forward Folds | Excellent | Good | Seated forward folds |
| Side-Lying | Excellent | Fair | Pregnancy, digestive poses |
| Travel-Friendly | Fair | Good | Portable practice |
| Beginner-Friendly | Excellent | Good | First bolster purchase |
Modification Guide for Different Bodies
| Need | Pose Modifications | Additional Props | Safety Notes |
|---|---|---|---|
| Pregnancy | Avoid flat-back after 20 weeks, use side-lying frequently | Extra pillows for belly support | Consult healthcare provider |
| Knee Issues | Add padding under knees, avoid deep folding | Extra blankets, cushions | Exit poses slowly |
| Back Problems | Keep knees bent in supine poses, use wall support | Blocks for height adjustment | Avoid forcing any position |
| Anxiety | Start with shorter holds, keep exits accessible | Weighted blankets, eye pillows | Focus on grounding poses |
| Limited Mobility | Use chair variations, focus on upper body | Chair, additional cushions | Adapt all poses as needed |
Setting the Mood
Environment:
- Dim lighting or use candles
- Comfortable room temperature
- Minimal distractions (phone on silent)
- Soft music or nature sounds (optional)
Comfort items:
- Extra blankets for warmth
- Eye pillow for deeper relaxation
- Essential oils (lavender, chamomile)
- Timer with gentle alarm
Breathing During Restorative Poses
Natural breathing: Don't force or control your breath; simply observe it Deep belly breathing: If helpful, place one hand on chest, one on belly Counting breaths: Can help focus the mind if it wanders Breath awareness: Notice how breathing naturally deepens in each pose
When to Practice Restorative Yoga
Best Times:
- Evening: 1-2 hours before bedtime to promote sleep
- Afternoon: During energy dips to restore without caffeine
- Weekends: For deeper, longer practices
- Stressful periods: When you need emotional regulation
- After illness: To support recovery and healing
Frequency:
- Daily: 10-20 minutes for stress management
- Weekly: One longer session (45-60 minutes)
- As needed: During particularly stressful times or when feeling overwhelmed
Common Mistakes to Avoid
Rushing the Setup
Take time to arrange props properly. Uncomfortable positioning defeats the purpose.
Forcing Relaxation
If your mind is busy, that's normal. Don't judge; simply notice and return attention to breath.
Skipping Savasana
Always end with at least 5 minutes of final relaxation to integrate the practice.
Using Props That Are Too Soft
Bolsters should be firm enough to provide stable support throughout the hold.
Practicing When Overstimulated
If you're extremely agitated, try gentle movement first, then transition to restorative poses.
Choosing the Right Bolster
Shape Considerations:
Rectangular bolsters:
- More stable for most poses
- Better for forward folds and back support
- Easier to position precisely
Round bolsters:
- Better for heart openers and fish pose
- More comfortable for some body types
- Traditional shape for many poses
Size Matters:
Standard size (65-70cm long):
- Works for most body types
- Good for all poses in this guide
Long bolsters (75-80cm):
- Better for taller practitioners
- More versatile positioning options
Firmness Levels:
Firm bolsters:
- Provide better support
- Hold their shape longer
- Better for most restorative poses
Softer bolsters:
- More comfortable for sensitive bodies
- Better for gentle heart opening
- May compress too much for some poses
Adapting Poses for Different Needs
For Pregnancy:
- Avoid lying flat on back after 20 weeks
- Use side-lying poses frequently
- Ensure bolster supports growing belly
- Avoid deep backbends
For Seniors:
- Use additional props for joint support
- Take extra time getting into and out of poses
- Focus on poses that feel immediately comfortable
- Use chairs or walls for additional stability
For Injuries:
- Consult healthcare providers before practicing
- Modify poses to avoid aggravating injured areas
- Use extra props for support and comfort
- Listen to your body and stop if anything hurts
For Anxiety:
- Start with shorter holds (3-5 minutes)
- Use weighted blankets or eye pillows
- Focus on poses that feel grounding
- Keep exits easy and accessible
Building a Home Practice
Space Requirements:
- Enough room to lie down with arms extended
- Quiet area where you won't be disturbed
- Storage for props nearby
- Comfortable temperature control
Essential Props to Start:
- One quality bolster
- Two blankets
- Eye pillow or dark cloth
- Timer with gentle alarm
Gradual Building:
- Start with 10-15 minute sessions
- Focus on 2-3 poses initially
- Add poses and time as comfort increases
- Invest in additional props as needed
The Science Behind Restorative Yoga
Nervous System Response:
- Activates parasympathetic nervous system
- Reduces cortisol (stress hormone) production
- Increases GABA (calming neurotransmitter)
- Promotes healing and restoration
Physical Benefits:
- Lowers blood pressure
- Improves circulation
- Reduces muscle tension
- Supports immune function
- Improves sleep quality
Mental Benefits:
- Reduces anxiety and depression symptoms
- Improves mood regulation
- Enhances emotional resilience
- Promotes mental clarity
- Develops mindfulness skills
Troubleshooting Common Issues
"I Can't Stop Thinking"
- This is completely normal
- Don't fight thoughts; acknowledge and redirect to breath
- Counting breaths can help focus
- Remember that noticing mind activity is actually mindfulness
"I Feel Restless"
- Try shorter holds initially
- Ensure you're truly comfortable in setup
- Consider gentle movement before restorative practice
- Focus on exhaling longer than inhaling
"I Fall Asleep"
- This can be beneficial if you're sleep-deprived
- Try practicing at different times of day
- Ensure room isn't too warm
- Consider this a sign your body needs more rest
"I Don't Feel Anything"
- Benefits can be subtle and cumulative
- Try longer holds or different poses
- Notice small changes in breathing or tension
- Trust that nervous system benefits occur even without obvious sensation
Creating a Supportive Environment
Minimizing Distractions:
- Turn off phones and electronic devices
- Let family members know you're not to be disturbed
- Close doors to reduce noise
- Use soft lighting or darkness
Enhancing Comfort:
- Adjust room temperature before starting
- Have water nearby for afterward
- Use props to feel completely supported
- Consider aromatherapy with calming scents
Integration and Aftercare
Transitioning Out of Poses:
- Move slowly and mindfully
- Take several breaths before changing positions
- Roll to your side before sitting up from lying poses
- Allow time to adjust to upright position
After Practice:
- Sit quietly for a few minutes
- Notice how you feel physically and mentally
- Drink water to stay hydrated
- Avoid immediately jumping into stimulating activities
Carrying Benefits Forward:
- Notice improved sleep quality
- Observe reduced stress reactivity
- Use breathing techniques throughout your day
- Return to the memory of deep relaxation when stressed
Conclusion
Restorative yoga with a bolster offers a powerful antidote to our busy, stressed lives. These seven poses provide a foundation for developing a practice that supports your nervous system, promotes healing, and cultivates deep inner peace.
Remember that restorative yoga is not about achieving anything or getting anywhere – it's about being present with yourself exactly as you are. The bolster becomes your support system, allowing you to surrender completely and trust that your body knows how to heal and restore itself.
Start slowly, be patient with yourself, and trust the process. Even a few minutes of restorative practice can make a significant difference in how you feel. As you develop your practice, you'll likely find that this time of conscious rest becomes one of the most valuable parts of your day.
The beauty of restorative yoga lies in its simplicity and accessibility. You don't need to be flexible, strong, or experienced – you just need to be willing to slow down and allow yourself to be supported. Your bolster is waiting to help you discover the profound peace that comes from true rest.
Ready to begin your restorative journey? Explore our collection of high-quality bolsters designed to support your practice and help you find the deep rest your body craves.
Remember: In a world that constantly demands more, choosing to rest is a radical act of self-care. Honor your need for restoration – your body, mind, and spirit will thank you.